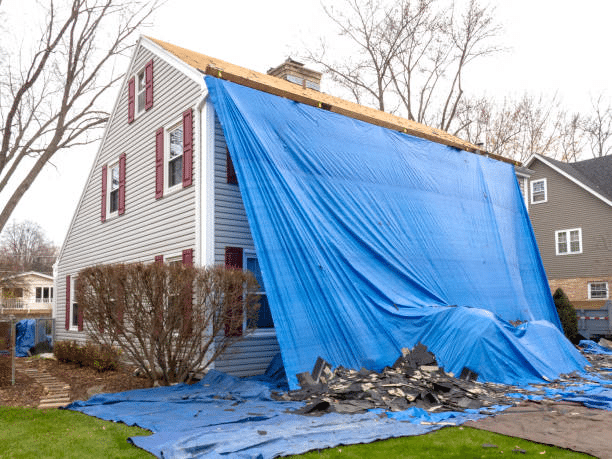
An emergency siding tarp serves as a temporary shield, covering damaged areas of your home to help prevent further harm. It’s a careful, short-term measure designed to stay in place until a professional can assess the issue and begin repairs.
An emergency tarp should be large enough to extend well beyond the damaged area, or you may need multiple tarps to ensure everything is covered. Proper installation is key to effective application, which is why siding professionals carefully secure them using hurricane tape or nails. The thicker the tarp—ideally with UV protection—the better and longer it can withstand the elements. While you’re waiting for repairs, an emergency tarp acts as a vital barrier between your home and the weather, helping you save significant costs in the long run.
A siding tarp is typically installed when a professional can’t get to you immediately for inspection and repairs. Even if the damage is small, it’s worth covering until experts can assess and fix it. When professionals install an emergency tarp, they begin by clearing the area of debris and carefully examining the damage, which includes documenting the issues with photos. Then, they securely tape or nail the tarp into place to ensure reliable protection.
Insurance companies may require that you install emergency tarping to minimize the amount of damage to your siding. What truly sets a professional service apart from a DIY job is the ability to give you a clear picture of the repair costs, timelines, and any urgent problems that need immediate attention.

Installing an emergency siding tarp may look different depending on how long it will be necessary. Before installing the tarp, it’s important to clear the area first. If it’s for a short-term need, the tarp will be draped over the damaged area and secured with waterproof tape. In some cases, each grommet is fastened down with a 2-inch screw and a 1–½-inch washer. If the tarp needs to remain in place for an extended period, a piece of plywood will be used in conjunction with the tarp. Typically, a ⅝-inch exterior-grade plywood is used and secured with 2-inch deck screws to create a solid barrier.
Think you may need an emergency tarp? Finding a Storm Guard professional nearby is a simple and reassuring step. Use our zip code locator to find your closest associate, and reach out to us for a trusted consultation.
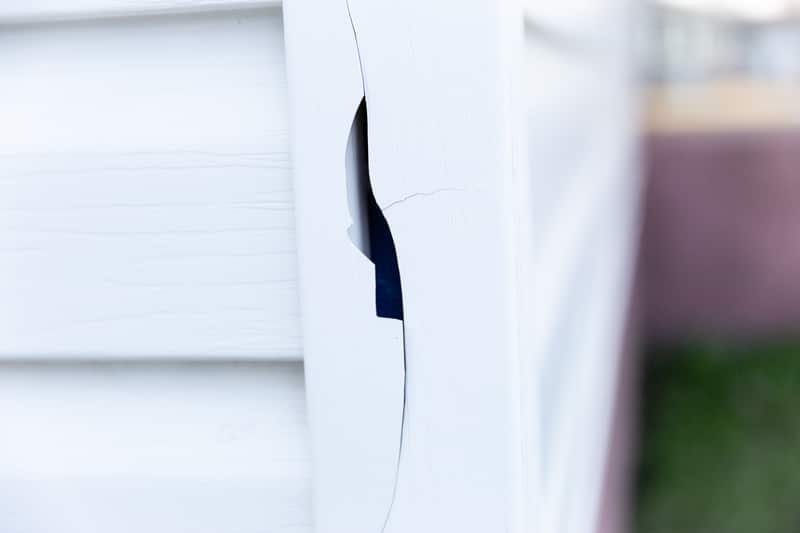
One of the most effective ways a property owner can reduce the need for emergency siding tarps is regular maintenance. It’s remarkable how many issues can be prevented, and how your siding can be strengthened against extreme weather with consistent care. Still, storms are sometimes inevitable, so it’s essential to examine these signs once the skies are clear:
If you notice any of the damage described above, it may be wise to consider installing an emergency tarp to protect your property. Our locator makes it simple to find the nearest Storm Guard service provider who can assist you and offer a personalized quote.
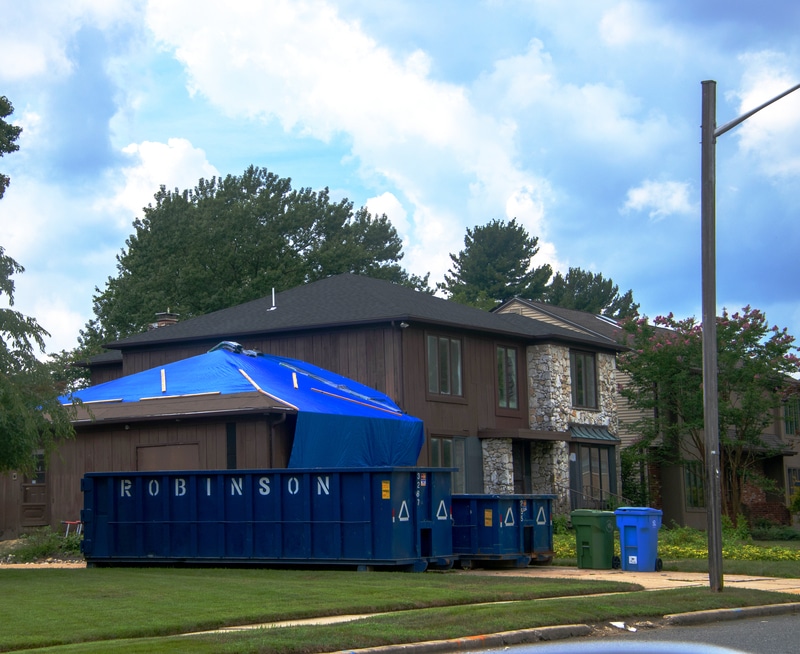
If siding damage is severe or an insurance claim is involved, securing emergency siding tarp services becomes essential to protect your home.
If a storm or vandalism caused the damage, your insurance will likely cover the emergency tarp. If not, costs typically range from $200 to $1,000, depending on whether you opt for a DIY approach or seek professional assistance.
You can use waterproof tape, like hurricane tape, or gently nail the tarp to your siding.
You can find your own emergency tarp at any home improvement store or call a Storm Guard professional—we have everything you need!
An emergency tarp is a temporary fix. It should not stay up for more than a month without checking beneath for any water damage.


Unless otherwise noted, each use of "Storm Guard," “us,” “we,” or “our” throughout Stormguardrc.com collectively refers to both the Storm Guard brand and the Storm Guard Franchise System, which is made up almost exclusively of independently owned and operated franchise locations.